You can group any visual assets added to the slide, whether it be visualizations, slicers, shapes, images, buttons, or dynamic assets. Once you've grouped items together, you can easily resize, align, move, copy, cut, or paste the group. Changes made to the group will be made to all assets contained with in the group.
Grouping can be a convenient way to make formatting changes to multiple visual assets simultaneously, rather than individually. It can also help you to re-size items to the same size, and to ensure they are alligned.
How to Group Visual Assets
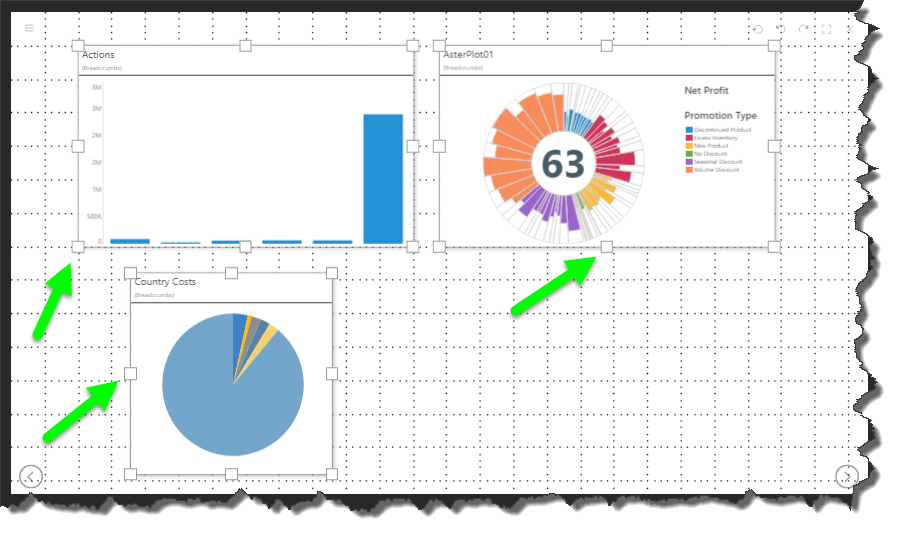
Drag select all of the visual assets that you want to group together, ensure that your selection extends beyond the boundaries of each asset:
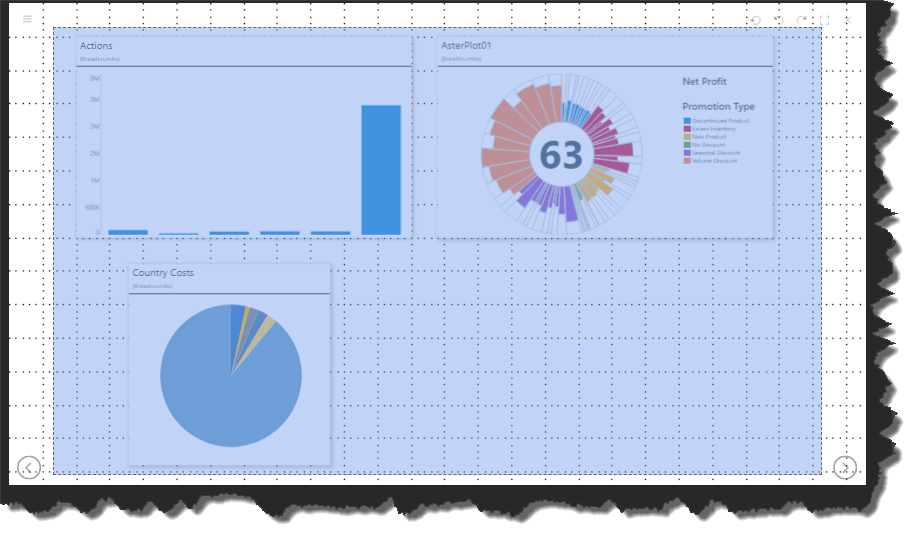
Once you release the mouse, your items will be selected:
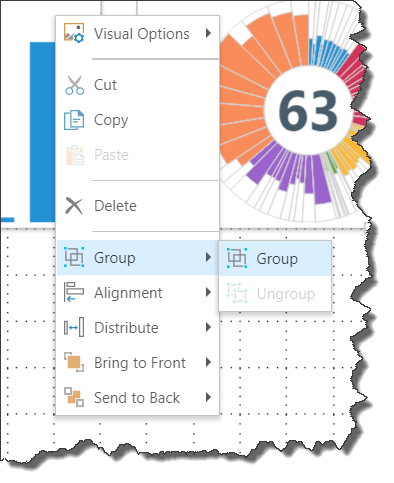
Right click on any of the selected items and click Group from the right-click context menu:
A new 'group border' will appear around your selected assets. Click the canvas outside of your group to hide the group border.
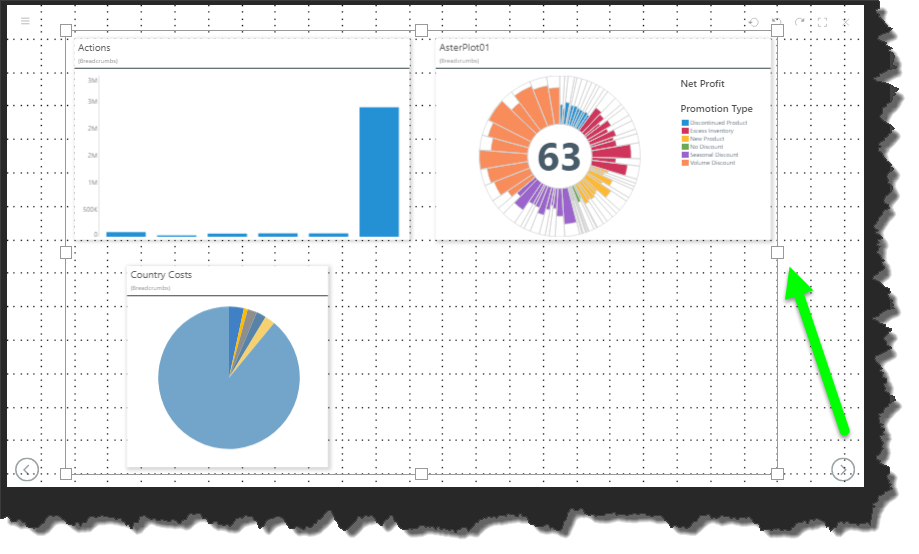
To make changes to the group, click any of its items once; this will show the group border, which you can grab to move or resize the group. With the group selected, you can right click on any of the assets within the group to access clipboard and formatting options.
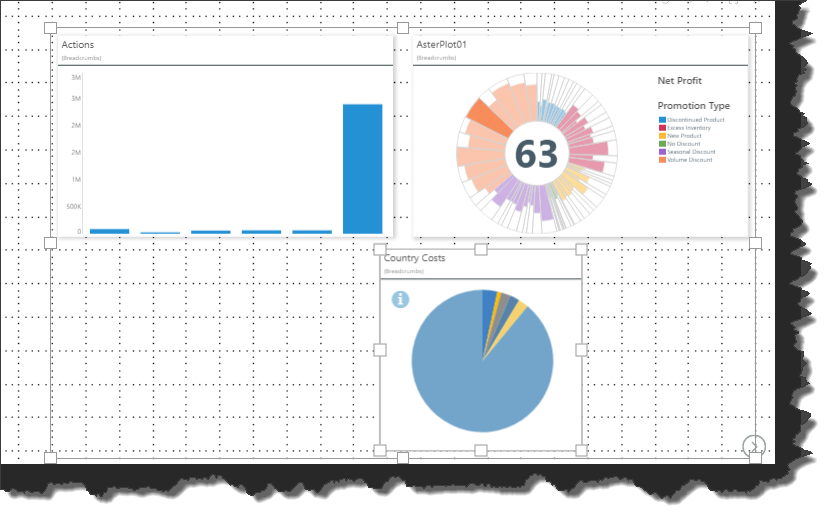
To make changes to an asset with the group, click a second time on the relevant asset; it will appear in selected mode and can be moved or resized without affecting the other assets in the group. Right clicking on the selected asset will expose its full right-click context menu.
Ungroup Assets
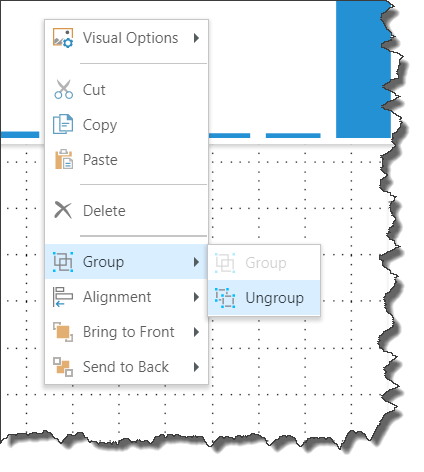
To ungroup assets, select the group as described above, then right click on any of its assets. From the right-click context menu, select Ungroup:
